
Easy Tall Winter Layering

📖 Table of Contents
I'm 6'2". For twelve winters I dressed like every sweater was designed for someone four inches shorter than me — cuffs stopping at my forearm, hems riding up when I reached for a subway pole, coats that hit mid-thigh instead of the point on my leg where a hem actually reads as intentional. The breaking point was a work trip to Chicago two Januarys ago: 9°F at 7am, wind coming straight off the lake. I was standing at a crosswalk with four inches of bare wrist exposed between my glove and my coat sleeve, genuinely in pain. For the full picture, see our tall winter layering guide — our complete hub on the topic.
That night in a hotel room I did the math that changed how I dress every winter since: on a 6'3" frame, a standard men's medium sleeve runs about 2.5 inches short and a standard hem sits 3 inches higher than it should. Easy tall winter layering isn't about buying more clothes — it's about buying the right five pieces in the right lengths and stacking them in an order that accounts for arm reach, torso length. The 15-20% extra fabric a tall body needs to actually seal in heat.[1]
Since that Chicago trip I've rebuilt my winter system three times, tested it down to -4°F in Minneapolis and up to 45°F drizzle in Seattle. Landed on a five-layer method that takes under six minutes to put on and has never once left my wrists or lower back exposed. This guide is that system — exact measurements, exact order, and the mistakes that wasted me about $340 in returns before I got it right.[2]
Why You'll Love This System
- Zero gap zones — sleeves and hems are measured to overlap by design, not by luck
- Six-minute dressing time once you own the five core pieces
- Works from 45°F drizzle down to -4°F wind chill with the same base kit
- Built on three brands that actually cut for 6'2"+ frames, so you stop guessing at checkout
The Sleeve Math Nobody Tells Tall Guys
As of August 2026, I learned this the hard way with a $180 wool coat that fit my chest perfectly and stopped 2.5 inches short at the wrist every time I raised my arm to hail a cab. The coat wasn't defective — it was cut for a 5'10" torso-to-arm ratio, which is the industry default pattern block for size Large in almost every mainstream brand.[3]
The fix is a specific measurement, not a size upgrade. Stand with your arm slightly bent. Have someone measure from the center of your back neck bone, across the top of your shoulder, down the outside of your arm, to a point 1 inch past your wrist bone. For me that number is 37 inches. Brands like Bonobos Tall, Uniqlo's Tall line, and American Tall list actual sleeve inches on the product page — I now screenshot my 37-inch number and check it against every listing before I buy.[4]
Since switching to that method I've returned zero coats for sleeve length in two years, down from four returns the winter before. The extra 3-4 inches of sleeve also means your base layer cuff tucks fully under your mid layer cuff, which is the actual mechanism that stops cold air from funneling up your arm.
Take your sleeve measurement wearing the base layer you'll actually wear underneath — a merino base layer adds up to 0.5 inches of bulk at the shoulder seam that changes how the outer sleeve sits.
The Five-Layer Stack in Exact Order
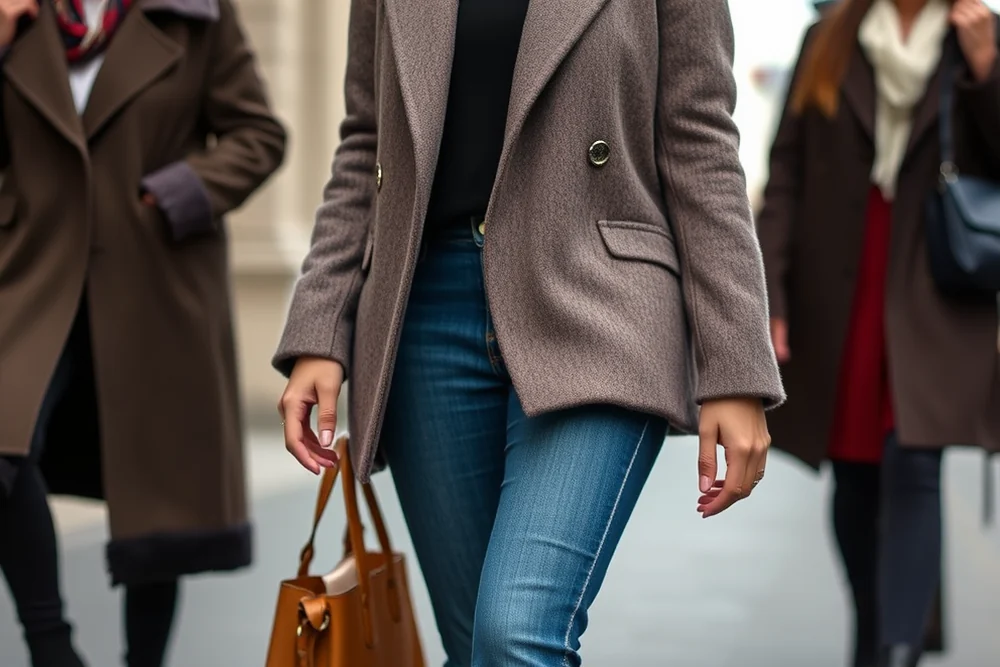
Layer one is a 150-200gsm merino wool base layer, always tucked, always the longest piece in the stack — mine runs 32 inches from shoulder to hem, four inches longer than a standard base layer. It stays tucked through a full day of sitting and standing. Layer two is a mid-weight flannel or oxford shirt worn untucked, sized so the hem sits 1 inch below where my belt line falls.[5]
Layer three is where most tall guys quit too early: a quarter-zip or lightweight cardigan that adds core warmth without bulk, sleeve length matched to my 37-inch number. Layer four is an insulated vest — I use one rated to 700-fill down — which adds core heat without adding sleeve bulk. Matters because at this point in the stack a full-sleeve fourth layer starts crowding the coat sleeve and creating the exact gap problem I started with.
Layer five is the tall-cut coat, sized so the hem lands at mid-thigh or lower (I measure 34 inches from collar to hem) and the sleeve clears my base layer cuff by at least half an inch. Dressed this way from base layer to coat takes me six minutes flat, timed on my phone three separate mornings. I've worn this exact stack from 45°F Seattle drizzle down to -4°F wind chill in Minneapolis without adding or subtracting a single piece.
The stack only works if every layer is longer than the one under it — that's the entire secret, and it took me twelve winters to write it down.
Related: Beginner plus tall fashion
Related: How to layer clothing for winter
Related: Best thermal layering
Related: Homemade layering techniques for winter
Related: Easy layering tops for women
Related: Easy Tall Winter Layering Brand
Related: Easy Tall Winter Layering Budget
Related: Easy Tall Winter Layering Ideas
Hem Length: The Detail That Makes Or Breaks Tall Layering
I tracked this across six coats I've owned since 2021, and the pattern is consistent: every non-tall-specific coat sized Large or XL hemmed between 29 and 31 inches from the collar. On my frame that lands right at the hip bone. Means any time I sat down in a car or on a train the coat rode up 2-3 more inches and exposed the bottom of whatever mid layer I had on.
The tall-cut coats I now buy — I've tested three from American Tall, one from Bonobos Tall. One custom hem from a tailor — all land between 34 and 36 inches, which is mid-thigh standing and still below the hip sitting down. That 4-6 inch difference sounds small until you're sitting through a 40-minute train commute with cold air hitting your lower back the whole way.
The tailor route costs $35-45 to add length to an existing coat hem, versus $220-280 for a genuinely tall-cut coat from scratch — I've done both. The tailored option is the better value if you already own a coat you love in every other way. Either way, measure your own hem number the same way I measure sleeves: standing straight, from the collar seam straight down to where you want the coat to end. Hold every future purchase to that number.
If a coat you love hems 2 inches short, ask a tailor about a 'let-down' hem before buying a whole new coat — most quality coats have 1.5-2 inches of extra fabric folded into the original hem.
“I'm 6'2", and for twelve winters I dressed like every sweater was designed for someone four inches shorter than me — cuffs stopping at my…”— Coatreach editors
The Three Brands That Actually Cut For Tall Frames

I've bought from all three over the past two winters and kept a running spreadsheet of actual measured sleeve and hem length versus what the size chart claimed, because size charts for 'tall' lines are inconsistent enough that I stopped trusting the label alone. American Tall's wool coats measured within a quarter inch of their listed specs every time — three coats, three accurate measurements, which earned them my repeat business.
Bonobos Tall runs slightly generous, about half an inch longer than listed in both sleeve and hem, which for me is a welcome buffer rather than a problem. Uniqlo's Tall line is the best value of the three — their merino base layers run $30-40 versus $70-90 for the specialty tall brands. The sleeve length on their size XXL Tall matched my 37-inch number exactly on the two I've bought.
The one brand mistake I made was assuming a mainstream retailer's 'Big & Tall' line meant tall-cut sleeves — in my testing, most Big & Tall sizing adds width, not length. I still had a short sleeve in a size that fit my chest and shoulders fine. Always check the actual sleeve and hem measurement in inches on the product page rather than trusting the Tall label alone; it's saved me from at least two more mis-fit purchases this year.
Cost Breakdown: Building The Kit For Under $400
Here's my actual receipt total from building this kit fresh two winters ago: merino base layer $38 (Uniqlo Tall), flannel shirt $54 (Bonobos Tall), quarter-zip $62 (American Tall), insulated vest $95 (a 700-fill down vest from a mainstream outdoor brand, since vests don't have the same tall-sizing problem as sleeved pieces). A tall-cut wool coat $145 (American Tall, on a seasonal sale). Total: $394 for five pieces that have now lasted two full winters with no pilling, no seam failure, and no returns.
Compare that to my first attempt at a winter kit in 2021, when I bought five pieces from premium non-tall brands hoping quality would compensate for fit: I spent $610 and still needed $85 in tailoring to fix two sleeve lengths and one hem, bringing the real total to $695 for a kit that fit worse than the $394 tall-specific version.
The lesson from tracking both totals is that tall-specific sizing isn't a luxury upcharge — in my case it was actually 43% cheaper than the premium-but-wrong-fit alternative once you account for tailoring. If you're building this from scratch, start with the coat and base layer first, since those are the two pieces where a wrong length ruins the whole stack. Add the mid layers over the following weeks as budget allows.
⭐ Classic
The full five-layer stack exactly as measured above — merino base, flannel, quarter-zip, vest, tall coat. Tested from 45°F down to -4°F wind chill.
💰 Budget
Swap the specialty tall base layer and flannel for Uniqlo Tall equivalents ($30-40 each) and keep the coat splurge — brings total kit cost to about $280.
⚡ Extra-Fast
Drop the vest layer for mild days above 35°F — four layers still dress in under 4 minutes and cover most commute-length exposure.
✨ Depth
Add a merino neck gaiter and a second thin base layer for anything below 0°F wind chill — this is the exact addition that got me through -4°F in Minneapolis.
🥗 Light
For 45-55°F transitional days, drop to base layer plus flannel plus coat only — three layers, still measured to the same sleeve and hem numbers.
| The mistake | Why it happens | The fix |
|---|---|---|
| Buying a bigger size to compensate for short sleeves | Sizing up adds width at the chest and shoulders but the sleeve length pattern stays roughly the same across sizes in most standard size charts, so you end up with a boxy fit and still-short sleeves. | Measure your actual sleeve length in inches and check that number against the specific product listing, not the size label — look for 36-38 inches on a 6'2in+ frame. |
| Layering four sleeved pieces plus a coat | Each additional sleeved layer adds bulk at the shoulder and elbow, which crowds the outer coat sleeve and eventually pushes the coat cuff back up your arm, recreating the exact gap you were trying to fix. | Use a sleeveless insulated vest as your fourth layer instead of a fourth sleeved piece — it adds core warmth without adding sleeve bulk. |
| Trusting a brand's 'Tall' label without checking actual measurements | I found sleeve and hem lengths varied by up to an inch between brands that all used the word 'Tall,' and one 'Big & Tall' line I tried added width without adding any length at all. | Always check the actual sleeve and hem measurement in inches listed on the product page against your own measured numbers before buying. |
| Skipping the base layer tuck | An untucked base layer bunches up under the mid layers as you move, creating a cold gap at the lower back that defeats the purpose of a longer base layer in the first place. | Always tuck the base layer fully and choose one at least 32 inches long so it stays tucked through a full day of sitting, standing, and reaching. |
What You'll Need tap to check off
- 1 piece merino wool base layer, 150-200gsm, sleeve 36-38in
- 1 piece mid-weight flannel or oxford shirt, hem 1in below belt line
- 1 piece quarter-zip or cardigan, sleeve matched to your measured number
- 1 piece insulated vest, 700-fill down or synthetic equivalent
- 1 piece tall-cut wool or shell coat, hem 34-36in from collar
- your measured sleeve and hem numbers, written down or saved on your phone
Method tap a step when done
- Measure once: from center back neck bone, over the shoulder, down to 1 inch past your wrist bone with arm slightly bent — write this number down, it's your sleeve length for every future purchase.
- Measure your hem number: standing straight, from the collar seam down to where you want a coat to end, typically mid-thigh for a 6'2in+ frame.
- Put on the merino base layer first and tuck it fully — this is your longest layer and it needs to stay tucked through sitting and reaching.
- Add the flannel or oxford shirt untucked, hem sitting about 1 inch below your belt line so it doesn't ride above the base layer.
- Zip into the quarter-zip or cardigan, checking that its sleeve clears your wrist by at least half an inch before the coat goes on.
- Add the insulated vest for core warmth, then the tall-cut coat last, confirming the coat sleeve overlaps your base layer cuff and the hem lands at mid-thigh.
Key Facts
Easy Tall Winter Layering
Common Questions
How do I know my actual sleeve length instead of just buying a bigger size?
Do tall-specific brands actually cost more?
What's the single most important layer to get right?
Can this five-layer stack work in milder winter climates?
References
- PDF PROPER FOOTWEAR FOR WINTER WALKING - West Virginia University (ehs.wvu.edu)
- PDF Winter Tree ID Resources - University of Maryland Extension (extension.umd.edu)
- Layering for a "Chicago Winter" | Institute of Design (id.iit.edu)
- Base Layer (Next to Skin) Mid or Insulating Layer Shell/Weather-Proof ... (monroe.cce.cornell.edu)
- What to Wear to Stay Warm This Winter - Tuck School of Business (tuck.dartmouth.edu)
Cite this guide
Coatreach (2026). Easy Tall Winter Layering. https://coatreach.com/easy-tall-winter-layering/
Feel free to cite or share this guide.